This project is in honor of my best friend's baby shower, which is in a few weeks an features a blue bird theme.
First, you will need some chipboard shapes (you can use other items besides birds) and the paper you would like to adhere to the birds. I chose a blue bird green/blue rustic paper:

Next you will want to put adhesive on the entire surface of the birds (the top side) and smooth out your paper on top of the birds (paper front facing upwards as show in the picture above). Then cut out the birds from the paper as close as possible to the shapes but it's ok to leave some room because you will be sanding the edges. I used my Cutter Bee scissors because the tip is very fine and some of my birds had alot of detailed edges.

Here is what your bird will look like once you cut around the paper:

Next, I used the Crop-a-Dile to punch a hole & add an eyelet "eye" for my little birdie:


Here are a flock of my birdies prior to sanding and inking the edges:

A close-up of the sanded edge - to do this, I used sand paper, 80 grit and rubbed the edges of each bird. This gives it a grunge look and also conforms the paper closer to the chipboard:

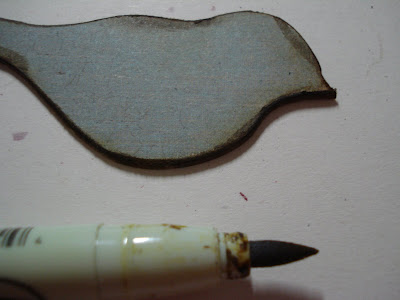
Next I inked each bird edge with a marker - I used brown. By dragging the thicker marker tip around the edge, it gave the birdies a more worn, distressed feel:


Hope this inspires some of you to work with chipboard - I'd love to hear or see some of your own projects!


2 comments:
Nice post, loved the sandpaper idea. Keep up the great work.
Thanks for sharing! I'm more of a scrapper, but every once in a while I like doing something different. Gonnaa give this project a try!
Sophia
Post a Comment